
Don't you just LOVE the feeling that comes as you complete a lengthy (or any...) project at all? First, there is the "vision". Then, the "preparation". And finally, you delve into the project and there may be bumps and snags along the way, but when it is completed and you stand back and admire what your hard work has rewarded you with, there is no other feeling like it!
As most of you may already know, knitting is one of my "Favorite Things". I research, gather supplies and then jump into projects, some which can be very drawn out. The project I just completed (at 11 p.m. last night...) was one of those very projects. You see, I saw the pattern in the 2008 Holiday issue of Vogue Knitting Magazine. I TOLD you I often times DRAAWW a project out. Well, that is because of several reasons, that I am currently attempting to avoid. I see other projects, get distracted, start on them...and THEN come back to the lengthy project that is still waiting for me. Oh well...I suppose that is one of the things I love about knitting; it cannot be hurried and it is always there waiting for you when you have time for it. However, since I decided to quit getting side-tracked by the attractiveness of other projects, I set my mind to finishing this project.

Now, it wasn't as if I had the option NOT to finish the project; it was both a BEAUTIFUL and COSTLY one. I had ordered the exact yarn that was shown in the magazine; a wonderful golden, beaded yarn and another skein that was not beaded for the fringe. OH...I haven't told you what the project was yet; an over sized lacy stole.

The "Lacy Stole"...

My "Inspiration"
Although the fall and winter found me very busy, with baby-sitting Parker Ann (she doesn't allow knitting on her clock...), planning holiday festivities and then the added tasks involved with Caitlin's wedding planning, I still tried to find time each night to sit down and add a few inches to my project. Robby watched from his recliner and commented that I had been working on it for YEARS (which technically I had...on and off) and he doubted that I would ever complete it. I continued to knit.
The stole pattern instructions said that it should measure 72 inches long, so every couple of days, I would get my tape measure out to see how many inches I had left. Over the weekend, I did just that to find that it actually measured a little longer; YIPPEE!!! I had done it...the end was in sight!
As I sat down last night and began to bind the edge off of my knitting needles, I toyed with the idea of just setting it aside for the night and adding the fringe the next day...then I decided NOT to let my procrastination take over. I knew it was getting late, but I really wasn't tired. I got out the wrinkled instructions, cut my fringe and began to attach it to my stole. The closer I got to the end, the more excited I became! There was NO WAY I was going to bed before this thing was done and I could wrap it around my shoulders.
When I had put the last bit of fringe on, I picked my new stole up gently and walked to the mirror. I wrapped it around my shoulders and neck and admired the way it fell across my back. I LOVED this stole and thought about the many times in the beginning that I had torn stitches out and started over again. It was SO worth finishing this project. My mind raced at the possibilities it had; to be worn with jeans or dresses or the long, flirty skirt. Even the realization that this is exactly how heirlooms are created. One day this stole would hopefully be passed down to my daughter and grand daughters. As I carefully took it from around my shoulders and folded it up for the night, I smiled. I was happy with this new creation. Then just before I headed off to bed, I opened a new knitting book I had just bought to a pattern I would start next...

My completed "Lacy Stole"

I can't wait to put this on and wear it out!
Here are a few of my "Favorite" knitting things..
1. www.gotyarn.com She has GREAT sales!
2. Vogue Knitting Magazine It has patterns for LOTS of beautiful projects
3. Knit Simple Magazine It also has lots of knitting projects
4. www.knittinghelp.com This is a wonderful site for knitters of all levels that even has
instructional videos.
***I just subscribed to the new Debbie Bliss Knitting Magazine, but have not received it yet; it should be GREAT!***
---------------------------------------------------------------------------------------------------------------
Knit, Knit and Knit Some MORE!
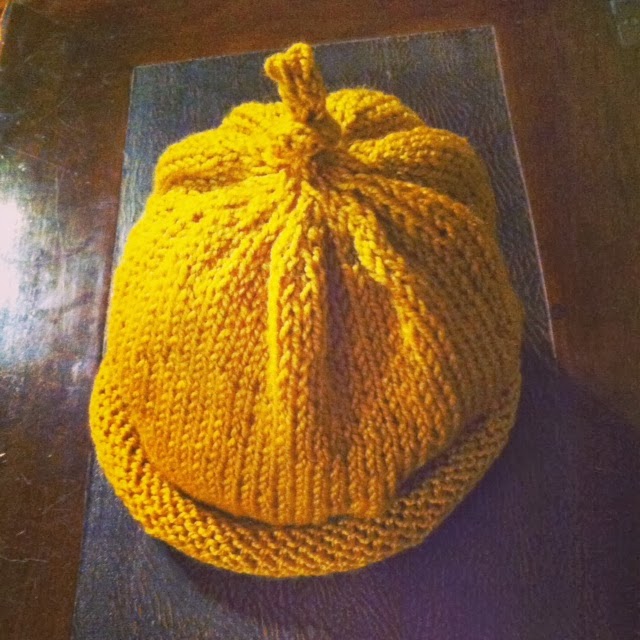
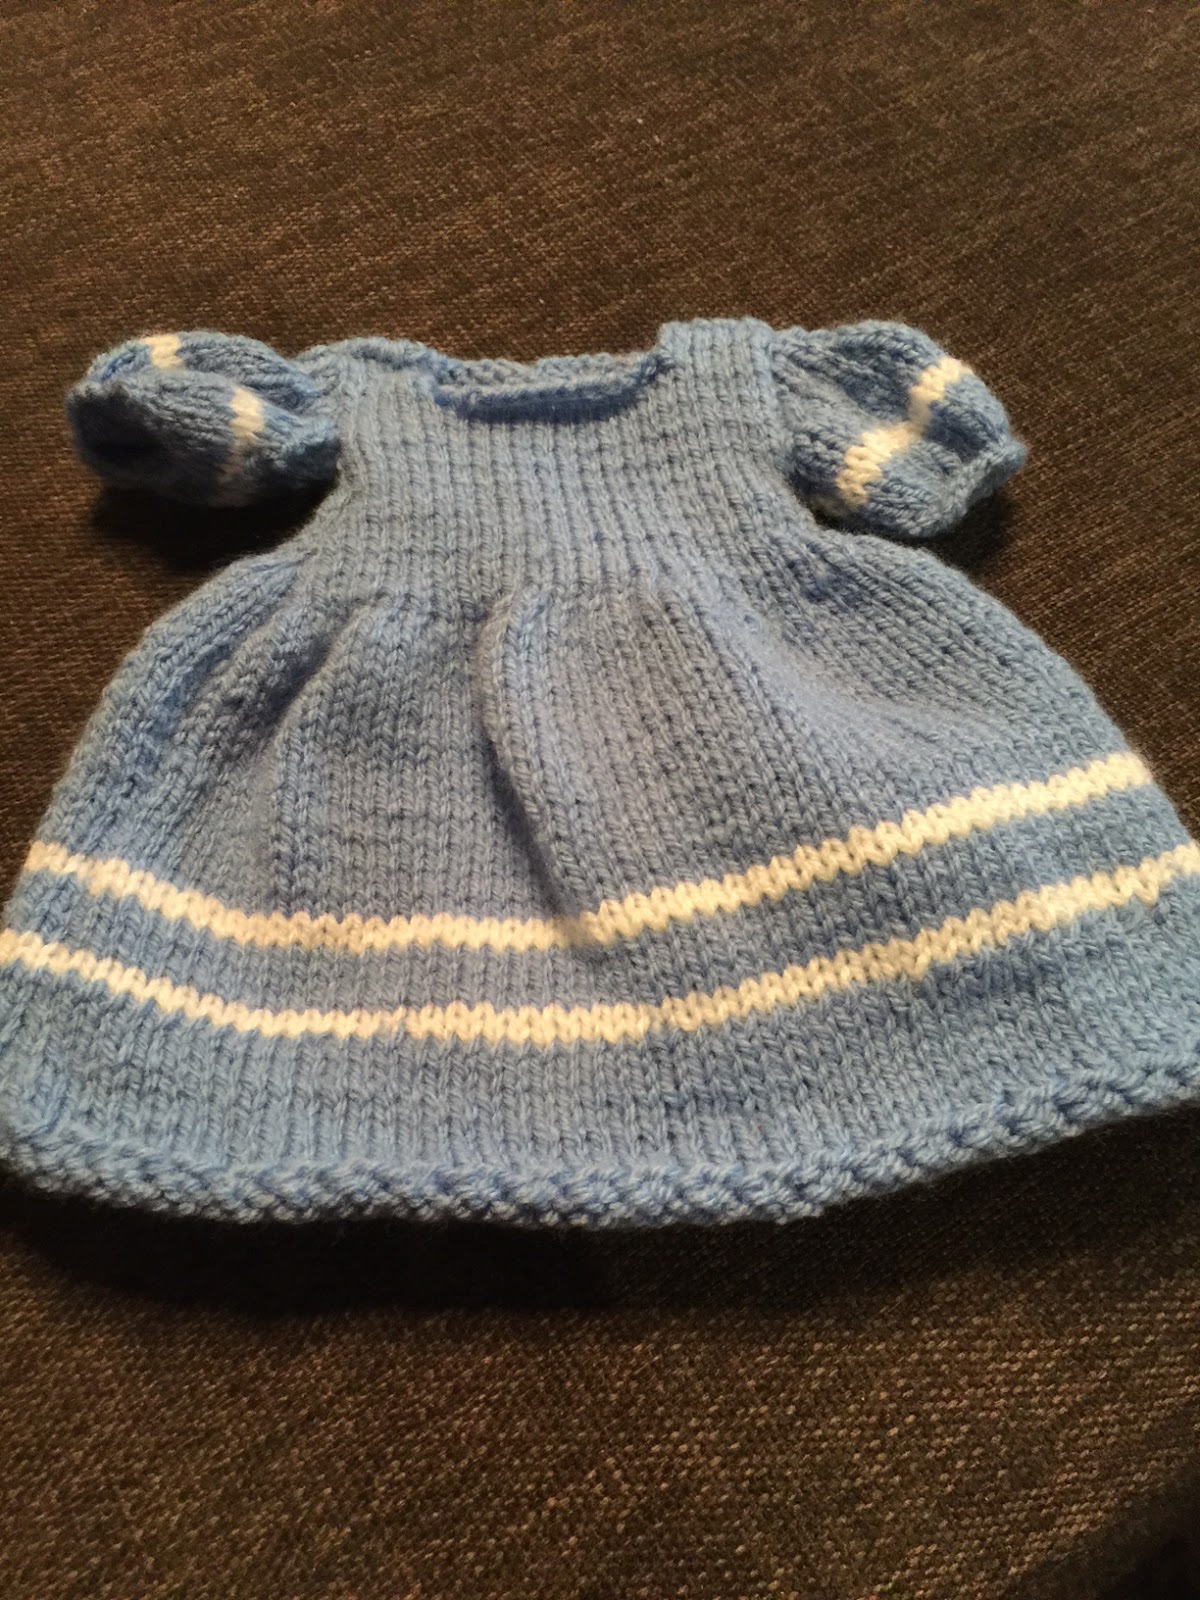
Caitlin and I quickly finished up some projects and she created an Instagram account where we offered a "Sneak Peek" of some of the items we would be offering (@ittyknittynoggins). Next, quite a bit of time was spent designing an Etsy web site, where all of our items for sale can be found. And the banner at the top of the page has the cutest picture of a little sheep! (Love those sheep...). So, as of last Friday evening, we are "officially" OPEN FOR BUSINESS and ready to start clicking our needles together to bring our customers the cutest and finest quality knitted and crocheted items possible. Currently, we are concentrating on children's items but I have been working on some adult hats and head pieces as well. Check us out if you get a chance at: https://www.etsy.com/shop/ittyknittynoggins?ref=search_shop_redirect
Here are some of the pieces we have listed in the shop...


Counting Sheep in My Sleep
As you all most likely know by now, Grand Number 6 is on the way. He is expected to arrive on October 29th. If you followed me along the journey of Caitlin's pregnancy with Holli, you will remember how we had to make all sorts of cute stuff for the nursery and baby...including all of that handmade baby furniture her dad built? Well, just to let you know...nothing has changed with this pregnancy. Kevin has already painted the nursery and Caitlin has a theme (vintage toys) and now she has enlisted others to assist her with making Number 6's (I refer to him as this because no name has been decided on yet) arrival just as special.
My first duty was to produce some watercolor painting that can be hung in the nursery...


Now back to those sheep I've been counting in my sleep. I pin a lot of things on Pinterest. I mean a LOT. One of them was this wonderful sheep blanket. I realized that I had not ever attempted to do intarsia knitting (knitting a picture or design switching out colors). I knew it most likely would not be simple, however, I did want to learn this technique one day. I didn't realize that "one day" would be sooner than I had expected. When Caitlin sent me the exact photo of that blanket to make for "Number 6"...


I always wanted to try intarsia knitting but was a little afraid of it. Thanks to videos and additional instructions, this project has actually been fun. I'm not sure what's next for "Number 6" but I'm ready for the challenge after mastering this skill!
--------------------------------------------------------------------------------------------------------------------------
I realize that I haven't posted lately but I've been BUSY..Busy celebrating my birthday, traveling a bit... AND "Making Alice". You see, Holli will be 3 on her birthday this year and she is absolutely in LOVE with Alice in Wonderland. She watches the movie, I found a vintage Alice in Wonderland Little Golden Book at my mother's house for her AND...this year the theme of her birthday party will be Alice! Well, I began looking for a cute, soft Alice doll for her but could not find one...not even at Disney World or Epcot. SO...I decided instead to look for a knitting pattern of Alice and found it! I was super excited to start a new knitting project (as I always am...) and I had never knitted a doll before so here I went...Off to make Alice!


I wondered at times if I would have Alice finished in time for Holli's birthday party, which we will be celebrating a little early this year. Especially since I took an entire week off to travel and celebrate my birthday. But as you can see, she will be finished in time for Easter weekend! How long did it take? Well...not working every day and sort of on and off it took about 3 weeks. I love the way she turned out and can only hope that Holli loves her too. And when she gets older and outgrows Alice, I hope that she will put her away in a safe place for her own little girl to enjoy someday. And remember that her YaYa made this gift especially for her with love.
--------------------------------------------------------------------------------------------------------------------------
What's On the Knitting Needles These Days?
As many of you know, I am an avid knitter. Some of the projects I have completed can be found here on the blog and I'm actually moving those over to the "Knitting Projects" section soon. I'm usually knitting for someone else, but occasionally I will knit something for myself. In May, when my Summer 2016 issue of Knitscene came in the mail, I browsed through it and came upon a pattern that I just had to make for myself!


No comments